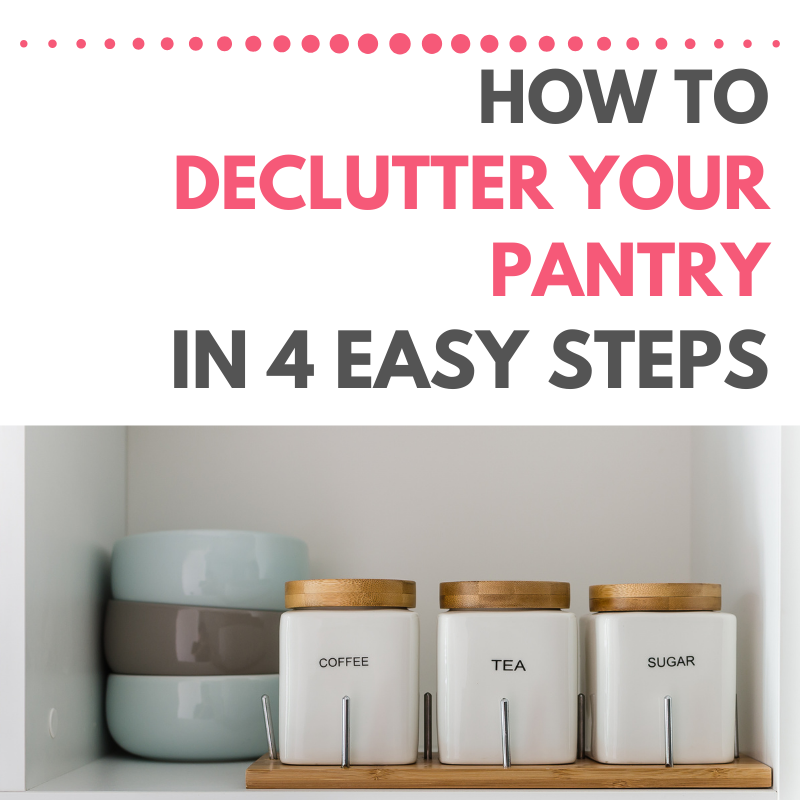
Ever reach for a granola bar in the recesses of your pantry and feel afraid of what you might find? If so, you’re in need of a good old-fashioned pantry decluttering session.
Lucky for you, I recently helped my friend Meredith declutter her pantry, and I’m sharing exactly how we did it below!
The best way to declutter your pantry–or any space for that matter–is to use my 4-step LESS Method™. I’m a former teacher (which means I LOVE acronyms!) so LESS does not disappoint. It stands for:
L – Layout Your Vision and Purpose
E – Empty
S – Sort it Twice
S – Systemize
Let’s go through each step in a little more detail and apply it to what we found in Meredith’s pantry.
Step 1: Layout Your Vision and Purpose
This step involves getting very clear about what you want to SEE and how you want to USE the space. I first had Meredith tell me what she thought her kitchen overall should look like: neat, organized, clear counters. Then I asked her how she planned to USE her kitchen: for cooking, gathering, and socializing. This may seem kind of obvious, but getting clear about your vision and purpose is key to simplifying your space!
Step 2: Empty
In this step, Meredith and I emptied everything–and I mean EVERYTHING!–out of her pantry. This step is always very revealing because it makes you realize the totality of what you own, which is always more than you think! Even after helping hundreds of clients clean out their cupboards over the years, I’m still surprised at how much we find inside. Again, this step is key to getting your space under control, because emptying a space allows you to re-imagine how you could use it.
Step 3: Sort it Twice
The first sort is a like-with-like sort, meaning you put all the similar items together: spices together, pasta together, etc. Again, this helps you see how much you have, which is often a surprise. (We found multiple open jars of similar spices and grains.) It also makes it easier to let go of duplicate items when you can see them lined up with their brethren.
The second sort is a decision sort: keep, toss, donate, or put elsewhere. This is where you make decisions on what stays and what goes. In a pantry decluttering session, this is where you get real about those “best by” dates on the boxes and have the guts to toss or donate (if it’s still fresh) that food you’re really never going to eat. I mean c’mon, if you’ve kept it long enough that it’s past the “best by” date, are you really ever going to eat it? I think not, my friend. 🙂
Step 4: Systemize
This is the step you’ve been waiting for, when you get to put everything back and make it look pretty (if you want). For pantries, I suggest using a system of baskets and canisters. Baskets for individually wrapped items, like granola bars or juice boxes. Canisters for loose items like rice and flour. And of course, keep those like items together so it’s easy for everybody to find what they’re looking for! And if using a label maker gives you a thrill, this would be the time to get your kicks. Labeled shelves make it oh-so-much-easier for everybody to keep your pantry looking terrific.
I hope these tips help you create a simplified pantry that helps you reach for your granola bars–and everything else you need to eat–with joy!
Cheers to less stuff and more you,


One Response